Are you tired of searching for the perfect dining table that meets all your specific requirements? I felt the same way. After struggling to find a suitable table for my six expensive barstools, I decided to take matters into my own hands. I wanted a table that was both wide enough and long enough, with a beautiful wooden top and sturdy metal legs.
In this blog post, I will share my personal journey of creating a custom-size table that perfectly fits my needs. Not only will I provide step-by-step instructions, but I’ll also accompany them with helpful pictures, making it easy for you to follow along.
Join me as I reveal how effortless and satisfying it can be to craft your very own table of any size. Get ready to unleash your creativity and transform your space with a piece of furniture tailored just for you.
Gather the Essential Materials
To embark on your custom-size table project, you’ll need a few key materials. Here’s what I used:
- Wooden Table Top: For a high-quality and unique wooden tabletop, I recommend checking out PennyWood Bespoke on Etsy. They offer a variety of beautiful options to suit your style.
- Metal Table Legs: I found the perfect sturdy metal legs on Etsy as well. WeldPress offers a range of durable and stylish metal table legs to complement your design.
- Metal Paint: To add a sleek touch to my metal legs, I opted for black metal paint. I purchased mine from B&Q, although I can’t recall the specific brand. You can explore their selection for various options.
DIY // Solid Pine Table Top
By PennyWoodBespoke
Trapezium Metal Table Leg
By WeldPress
Building Your Custom Size Table: Step-by-Step Guide
Now that you have gathered all the necessary materials, it’s time to bring your custom-size table to life. Follow these straightforward steps:
- Paint the Metal Legs: Begin by thoroughly painting the metal legs with black metal paint. Apply at least two coats for optimal coverage and durability. Allow sufficient drying time between coats as per the paint manufacturer’s instructions.
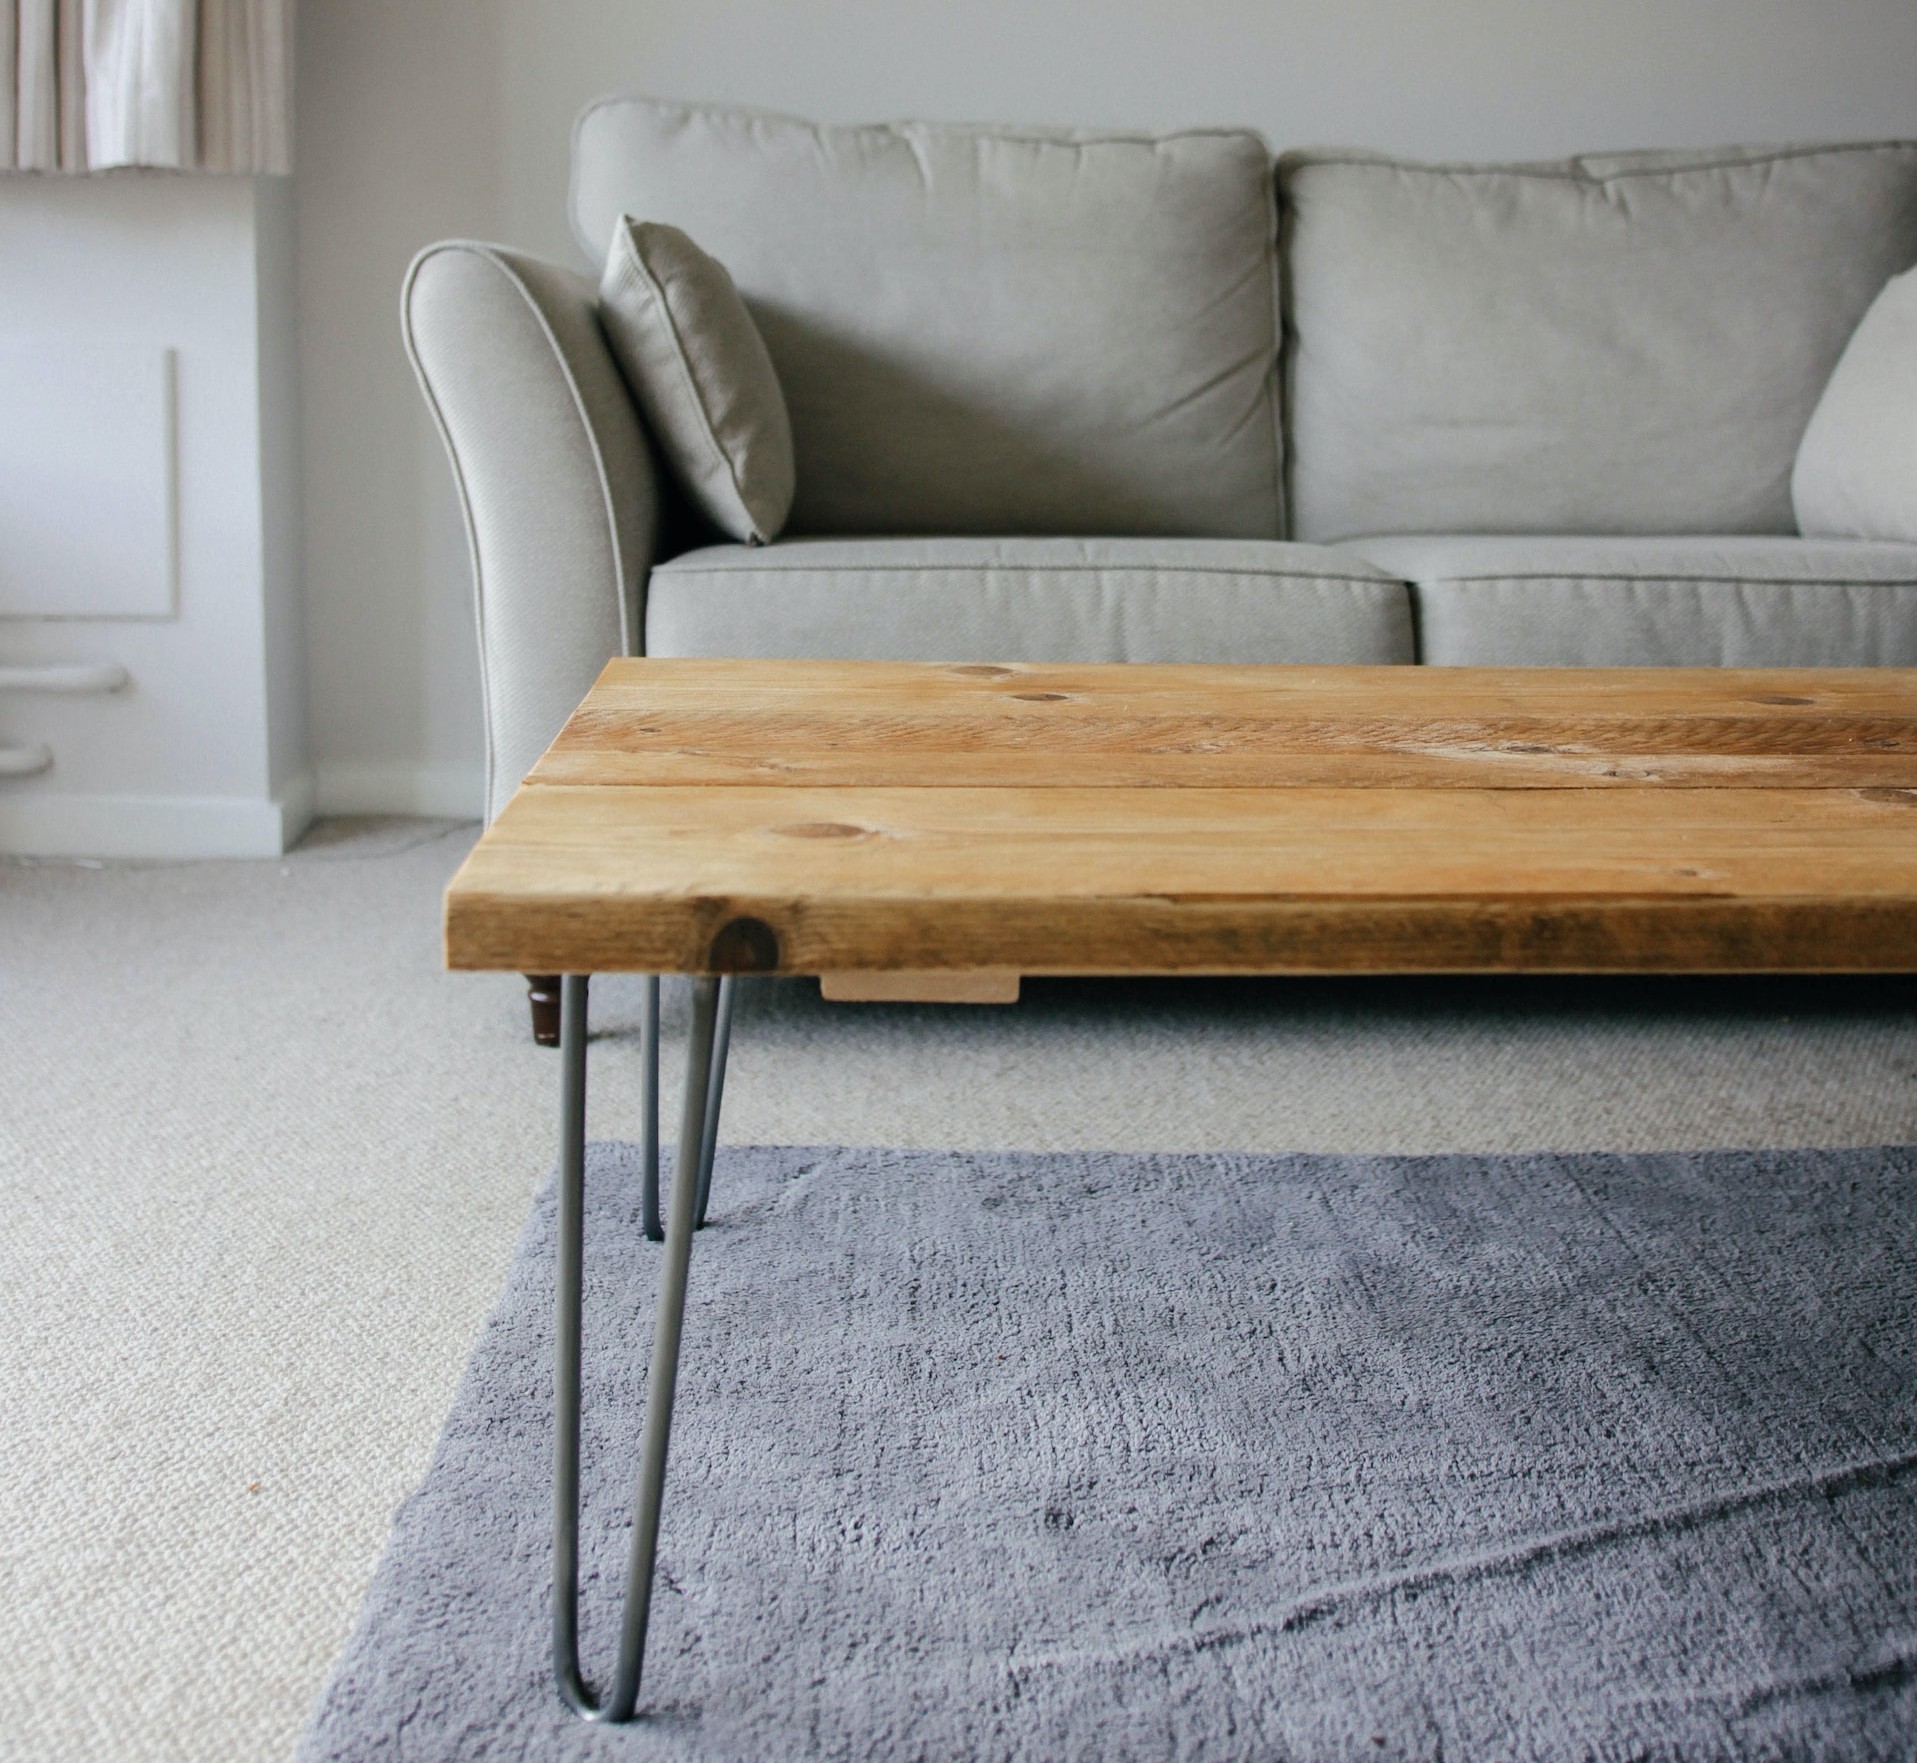
- Attach the Metal Legs to the Wooden Table Top: Once the paint has dried completely, it’s time to attach the metal legs to the wooden table top. Before securing them, carefully measure and position the legs to ensure they create ample space for your chairs or stools. You want to ensure a comfortable fit for easy seating. For a helpful visual guide, I recommend watching this informative video:
To secure the legs, I used fasteners like the one below along with metal washers.

Silver Hex Socket Flat Head Confirmat Screws Furniture Fitting Assembly Screw

By following these two simple steps, you’ll be well on your way to assembling your custom-size table. The combination of painted metal legs and a carefully selected wooden tabletop will create a stunning and functional centrepiece for your dining area. Congratulations on completing the construction of your DIY project!


💡 For more inspiring insights, be sure to check out our other engaging blog post: Reviewing a Selection of Scandinavian and Rustic Desks
** This post may contain affiliate links. This means that if you make a purchase through these links, I may earn a commission at no additional cost to you. I only recommend products or services that I would personally use and believe will add value to my readers. Thank you for your support!
-

Large mango wood dining table
£695.00 -

Carved Mango Wood Coffee Table
£219.99 -

Mango Wood Bedside Table
£132.99 -

Mango Wood Coffee Table
£200.00 -

Solid Wood Handmade Corner Desk
£540.00 -
Reclaimed Wood Office Desk with Black Legs
Original price was: £289.00.£231.20Current price is: £231.20. -

Minimalist Scandinavian Corner Desk
£306.00 -

Scandinavian Style Birch Plywood Desk
£145.00 -

Trapezium Metal Table Leg
£40.25 -

Solid Pine Table Top
£90.00